")
")
A NOT NEW METHOD BUT FULLY EXPLAINED !!!
The first problem met by a young beginner during the construction of his first control line model is always the ribs. How to respect the shape and the dimensions of all the ribs ? His (or her) dexterity is not enough good at this stage to product a lot of similar parts. So we use an old and improved method we learnt 30 years ago and which is always the best I know. The block.
In our three modelling schools or during the holidays sessions the club organise we are oblige to be efficient during every stage of the construction. It is more and more difficult to explain that a part must be perfect and has to be remade if something is wrong. So the teachers have to prepare some tools or templates to help the beginners and reduce the working time.
To obtain similar ribs we prepare two templates in steel (1 mm). They are cut , shaped and finished together. It needs two hours for the teacher to prepare the templates and that saves a lot of time during the assembling stage of the wing. In fact at that stage the teacher has to be near the beginners to explain how to assemble the wing. If all the ribs are different or have a lot of defaults the building time becomes too long because the teacher has to adjust every part to obtain the best compromise. In our holidays session we often build 6 wings during the same day with six different beginners. So we need perfect ribs to save time and to give that time to another beginner or to explain more and more to another one.
Now the kid has to cut all the parts of balsa needed to have the good number of ribs. Two methods to do that: Or he cuts simple rectangles, or he draws each rib on the sheet of balsa and cuts them with a space of 2 mm around the drawings. We prefer the second method which saves balsa and time. In both methods you have to draw the place of the two holes of the assembling bolts and drill them by hand with a 3mm diameter drill.
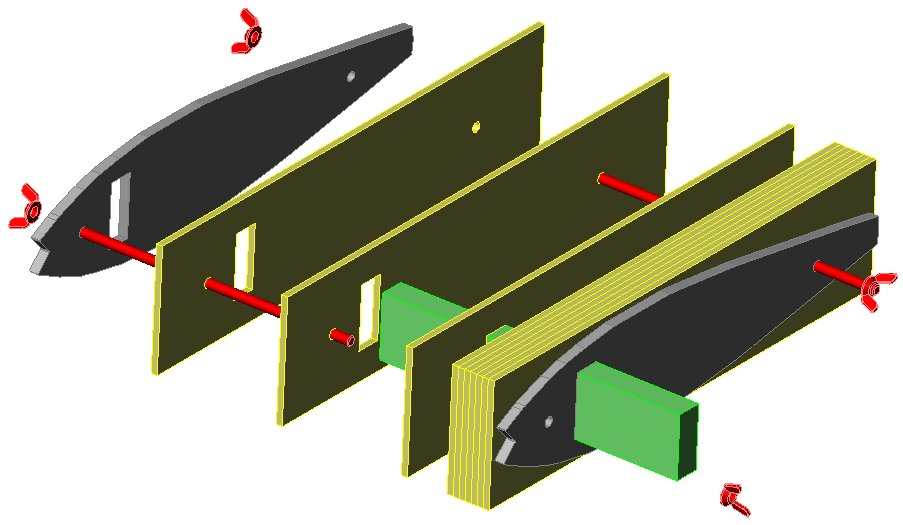

Then he can assemble the block with the templates located at each side. We put the block in a vice and send it to the good shape with sanding blocks with two kinds of sand paper. It is easy to reach a good quality . When all the faces are sanded the result is always quite perfect, and it is the first time you may see some proudness in the eyes of the beginner.
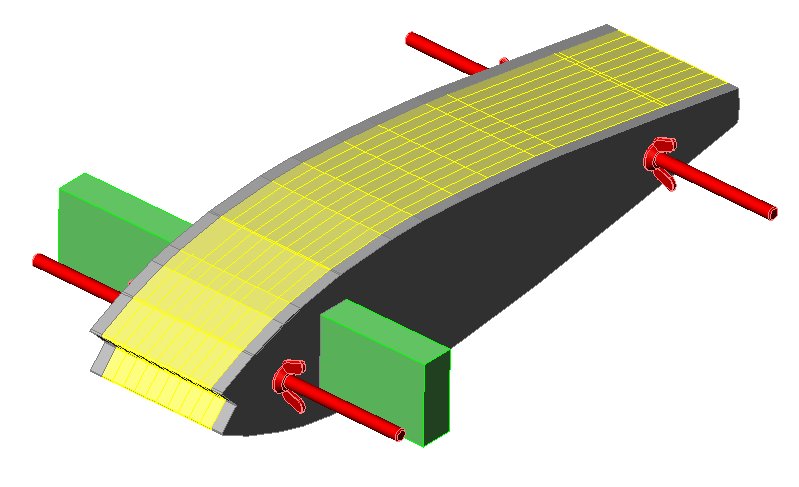
Now it is time to cut the notches for the spars or for the leading and trailing edges. Some handmade tools and some files are necessary to groove the block. If the tools you prepared are efficient, then the kid will find this work easy. We often use several metal saw blades assembled together, for example 3 to reach 3mm wide grooves. To finish it we prepare some sanding tools with 2 or 2,5mm plywood on which we place different sandpaper. Precision Swiss files are not useful for that job.
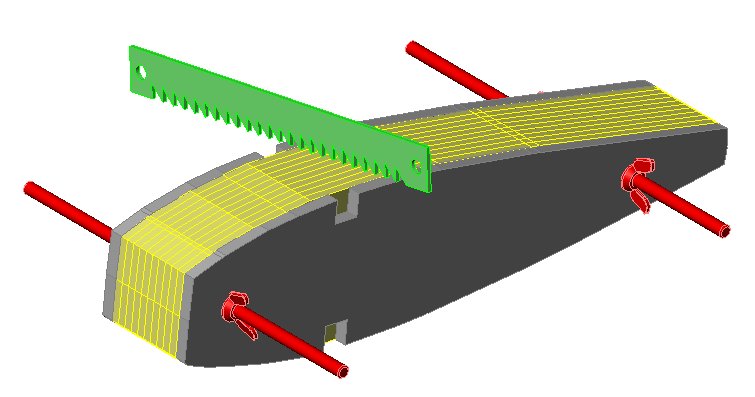
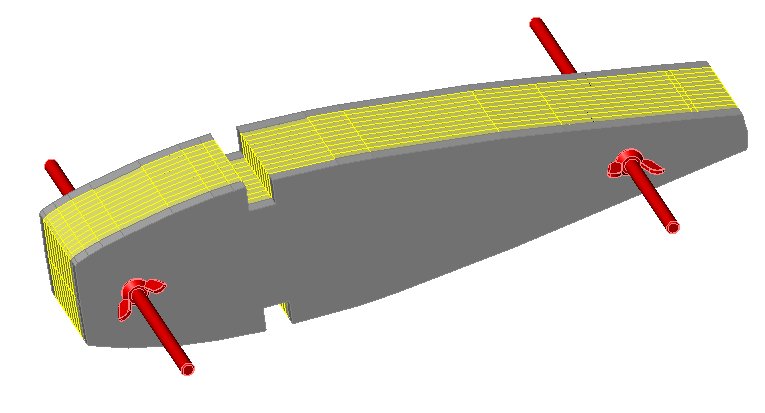
The block is now ready. And the kid who thought this work very difficult, has in his hands a lot of perfect similar ribs after only two hours of work. He can be proud of his work, and sometimes the first satisfaction he reaches at that stage has a big influence on his future in modelling. Some good words from his teacher at that stage is also a good contribution. The method itself gives always good results in any kind of hands.